
Watermarked Luminaria
25 Days of Paper 2015, Day 14
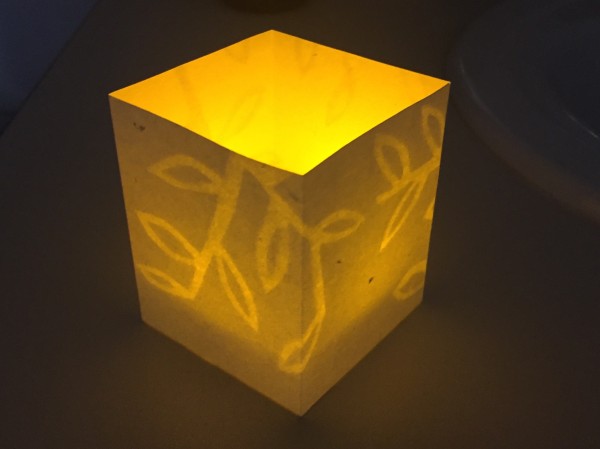
I spent many a Christmas during my childhood in Northern New Mexico, and I always loved seeing the rooftops and drives lined with paper bag luminaria. Once I learned to make paper and discovered the watermarking technique, I combined the two ideas.
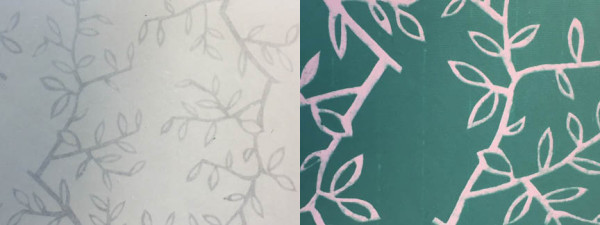
Most of you have the watermarked white paper, but a couple of you got a green version. These look great at night with a tea light, but they also look nice under the light of a lamp or during the day on a window sill. By the way, I’ll be offering this exact paper (in white and two colors) in my upcoming on-line paper sale in late January.
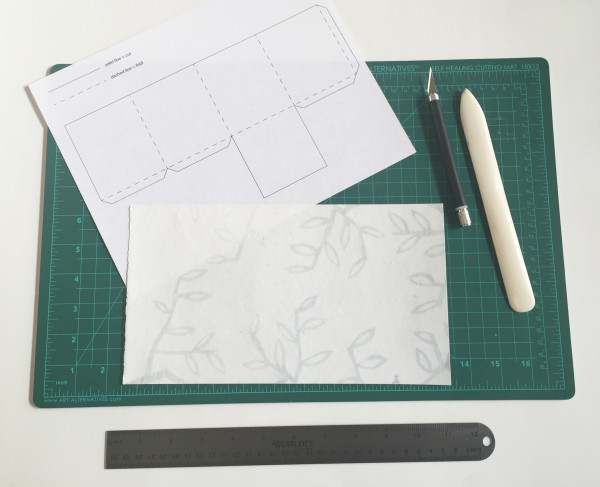
For this project you will need:
- This template
- Leaf-watermarked paper from your kit
- Ruler
- Craft knife
- Bone folder
- Cutting mat
- Tape
- Glue
- Battery operated tea light
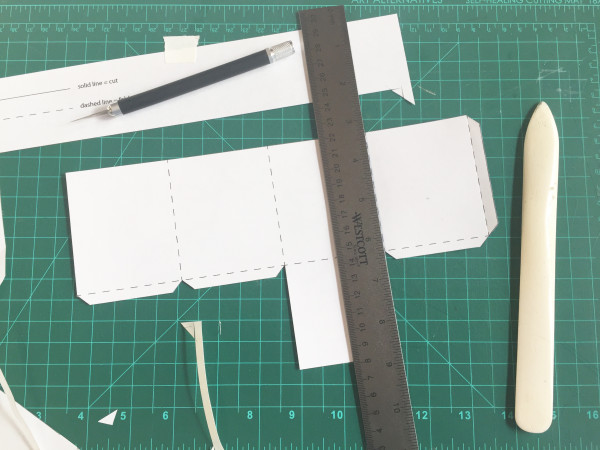
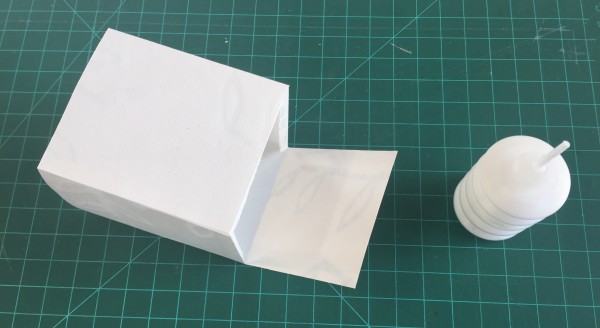
Step 1: Cut & Score: Cut out the template and tape it in place on the handmade paper OR you can simply place the template on top of the handmade paper and cut both out together (save the template for making future luminaria). Use the bone folder to score along the dashed lines prior to removing the template.

Step 2: Fold: Carefully fold along all of the score lines in the same direction (all mountain or all valley folds, depending on the way you look at them! Mine are valleys here).
Step 3: Glue Side Panel: Apply glue (or double-sided tape) to the one side tab and adhere the panel.
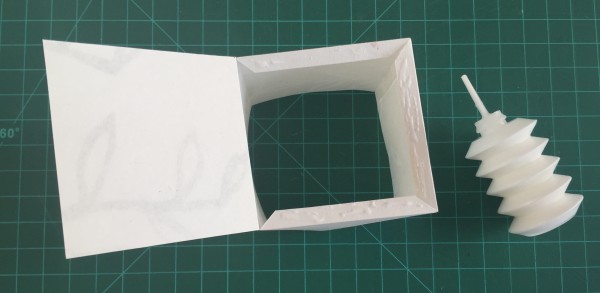
Step 4: Attach Bottom Panel: Apply glue to the three bottom tabs and adhere the bottom panel.

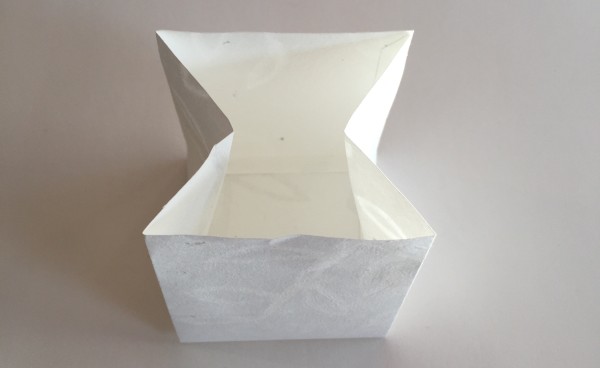
Step 5: Press Glued Areas: Set the luminaria right-side up on your table-top and use a bone folder or another blunt implement to make sure that the tabs are stuck in place.
Insert a tea light and watch the watermarks glow.
If you like collapsible paper objects like I do, you can fold this lantern up like a brown paper bag and store it. I just pinched the sides and then collapsed the bottom.
I can envision this lantern design in all kinds of papers, and I hope you’ll try it out! Share your ideas in the comments box below and show us what you made in the 25 Days of Paper FB group.
–––––––––––––––––––––––––––––––––––––––––––––––––––––––––
About the 25 Days of Paper 2015: It’s a great time to celebrate paper, and I’m delighted to share my ideas for using this amazing material with you. Throughout December, I’ll be posting a paper tutorial on even days, and every odd day will bring news about paper artists, stores, distributors and more! Receive updates via e-mail by adding your address in the upper right hand corner of this page. Enjoy the season, and feel free to leave a comment below and check out what people are making in the 25 Days of Paper FB Group!
2 Comments
Thank you for your generosity!
Teri, It’s my pleasure. Thank you for your appreciation!