
Watch the Workshop Replay on YouTube.
 |
 |
Tools & materials:
- Download and print out this template
- Paper to cut 6 panels from (see suggestions below)
- 1/4″ double-sided tape or white glue
- Scissors
- Optional: I will show how to attach a 3″ lamp ring (like this) to the bottom of the lantern to create a base.
- Battery-operated tea light (I’ll show you my favorites when we meet on Zoom)
Paper suggestions:
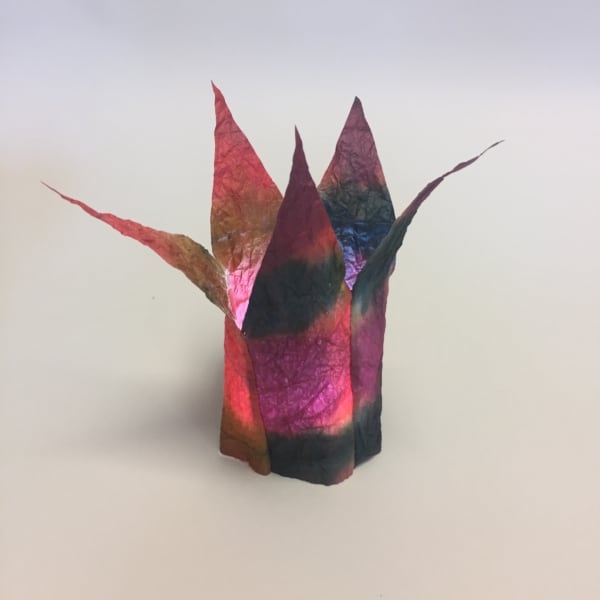
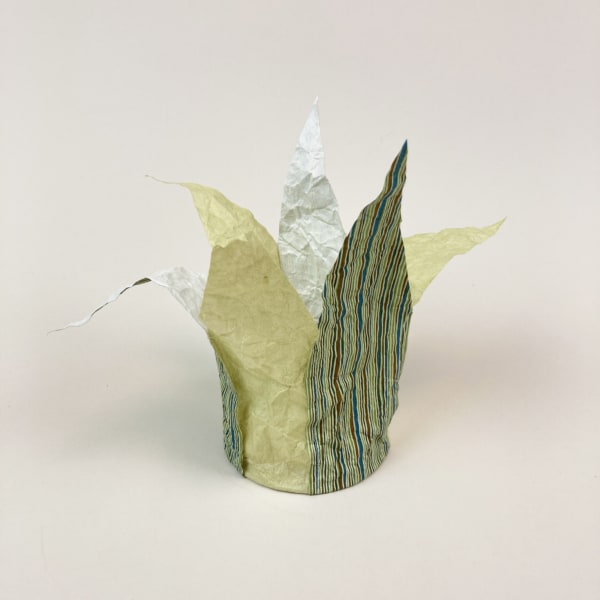
- Beginners: I recommend white copier paper or equivalent for your first model – simply cut out your panels (decorate them if you wish) and we will crumple our paper together.
- Paper aficionados: I used a cloth-like paper that is somewhat stiff: if you’ve worked with konnyaku, you can use some of your momigami. Other paper recommendations: hanji, mino washi, and commercial momi papers like these will also work well.
You will Learn:
- How to choose paper for a project: I will share specific paper recommendations with you, since this is one of the most common questions I get. It takes experience to develop a feel for paper, and we learn about paper qualities through the projects in The Paper Year.
- Three ways to connect paper panels: I love the variety of attachments and connections that work with paper (tape, glue, stitching, eyelets, staples, etc).
- How to create a sturdy base for your lantern.
- My favorite (and safe) ways to illuminate your Crown Lantern.
Find out more about The Paper Year:
The Paper Year is an annual subscription club – a year-long online class – featuring a new paper technique every month. Get inspired with video and written project instructions designed to spark ideas that keep you creating for the rest of the month; explore creative paper techniques, including origami, pop-ups, paper weaving, book arts, paper cutting and more; and join our growing community of paper lovers online to learn and share in a warm, encouraging, supportive, creative community. If you’d like to hold your spot for The Paper Year now, click on the purple button on this page.