
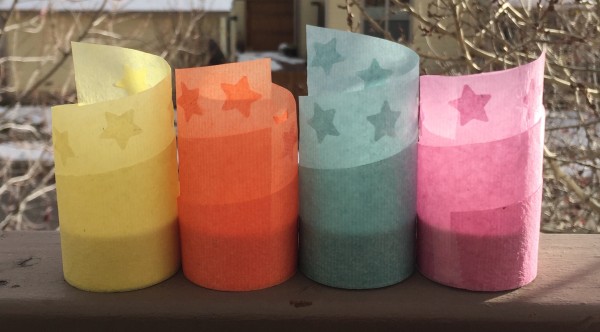
Abaca Lantern
25 Days of Paper 2015, Day 4
Many of you know that I love abaca, and much of my artwork utilizes this papermaking fiber from the leaf stalks of a variety of banana plant. What I like most are its translucency and high shrinkage capabilities. It is not a type of paper that you can find in many stores (please leave a comment below if you know of a store that carries it) and to make it translucent like this, you have to have access to a hollander beater. I usually offer translucent abaca for sale during my biannual on-line paper sale (the next sale will take place in January 2016).
Grab the trapezoid shaped sheet of abaca from your paper pack (you received one of the colors pictured below) and let’s get to work. This is one of the simplest projects we’ll be doing.
For this project you will need:
- One sheet of abaca paper (for those of you using your own paper, the sheet is 11-1/2″ L and 3″ H on the high side and 1″ H on the short side).
- Transparent tape
- Battery operated tea light (highly recommended)
- Optional: Paper punch, scissors & glue stick
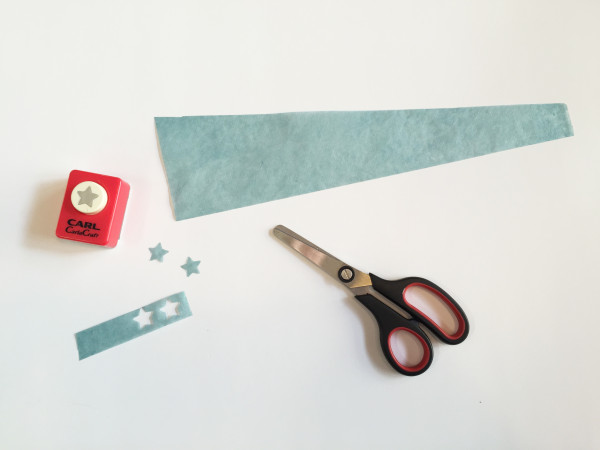
Step 1: These first few steps are optional: If you have a punch and wish to add another dimension to your lantern, trim a strip of paper off of the wider short edge and punch shapes out of the strip.
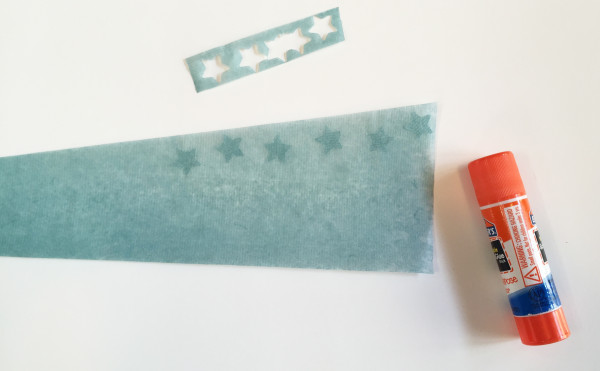
Step 2: Use your glue stick to adhere the punched shapes to the angled edge of the paper, as shown. You do not need to add more than shown, because they will start interfering with the layered look created by the overlapping of the swirled paper cylinder.
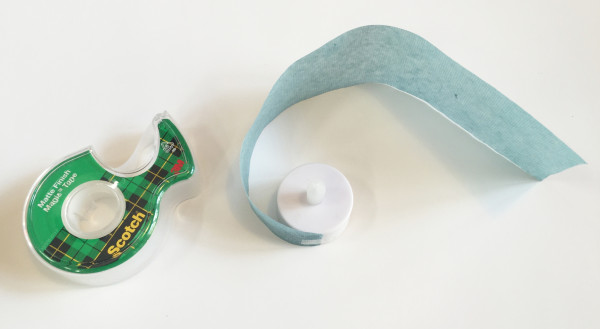
Step 3: Attach the short end of the sheet of abaca to a battery-operated tea light with a small piece of transparent tape.
A note about tea lights: There are a variety of inexpensive battery-operated tea lights available in department stores, particularly at this time of year. I would not advise using a real candle for this project, because even if it were in a glass holder, the paper would be too close to the flame.
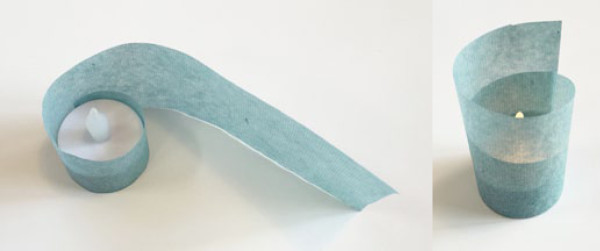
Step 4: Swirl the paper around the tea light until you get to the end and adhere the end with another piece of transparent tape. I like the option of being able to carefully remove the tape and store my sheet of paper flat, but you could also opt to apply glue for a permanent attachment that doesn’t show.
Enjoy your mini-lantern, and let me know what variations you come up with. Here are a few ideas that I have:
- Punch holes or shapes in the paper instead of collaging, for another effect.
- Alter the angled edge with deckled scissors or free-form cutting.
Share your ideas in the comments box below or over in the 25 Days of Paper FB group.
——————————————————————————————————————–
About the 25 Days of Paper 2015: It’s a great time to celebrate paper, and I’m delighted to share my ideas for using this amazing material with you. Throughout December, I’ll be posting a paper tutorial on even days, and every odd day will bring news about paper artists, stores, distributors and more! Receive updates via e-mail by adding your address in the upper right hand corner of this page. Enjoy the season, and feel free to leave a comment below and check out what people are making in the 25 Days of Paper FB Group!
2 Comments
where do you buy the lights I can tell my students.
Thank you
Nice abaca paper art. Very simple but looks amazing