
A Visit to The University of the Arts
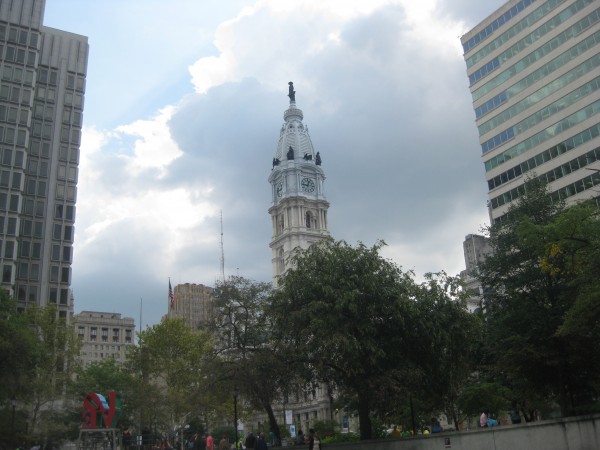
I spent a week in Philadelphia recently (can you see the LOVE sculpture above? – it was a rainy day!), and I was a visiting artist at the University of the Art (UARTS) for a day, where an old coworker from Dieu Donné Papermill – Cynthia Thompson – is now the director of the MFA Programs in Book Arts/Printmaking and Studio Art.
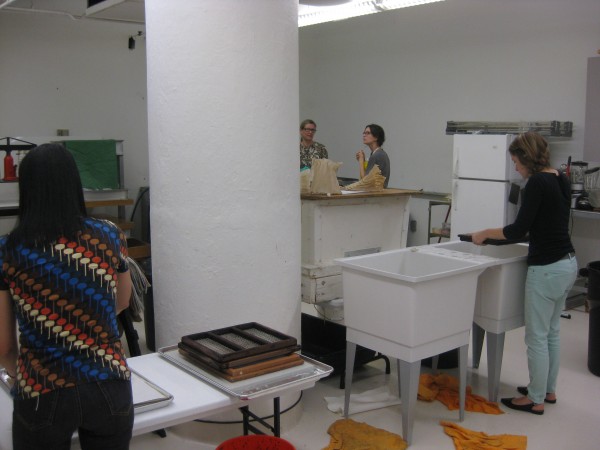
Paper studios around the country tend to flourish when the faculty have an interest or training in the field. At other institutions, equipment can lie dormant for years. I love visiting other papermaking studios to see how they are set up, and Cynthia has completely revamped the paper studio. She moved it upstairs from the basement, had a waterproof floor installed, and set up these utility sinks as vats.
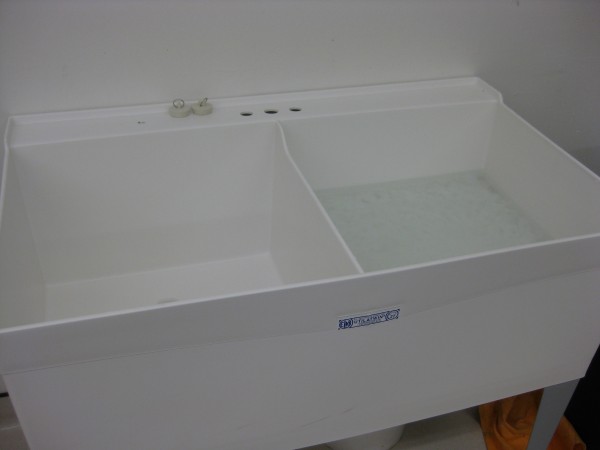
Double sinks have a drainage area built in for resting the mould after pulling a sheet.

And these baking trays have holes drilled in them so that the water from each student’s post can drip into a bucket beneath. This is crucial in a situation where there isn’t a floor drain. Notice the plastic (i.e. waterproof) tables that are at a good height for couching.
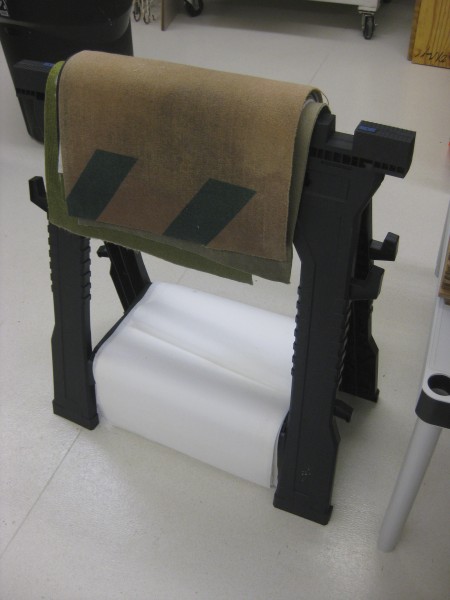
Felts and pellons are hung on these plastic (waterproof) sawhorses.
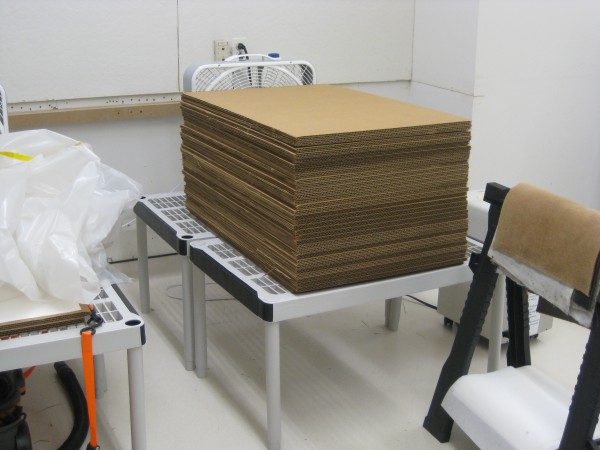
And the drying systems are made up of triwall corrugated cardboard stacked on top of these plastic tables.
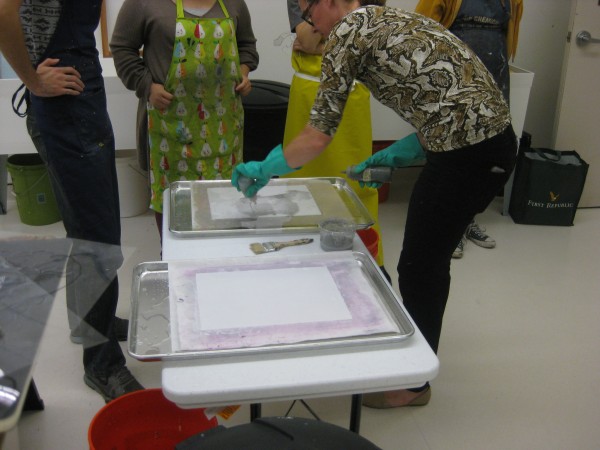
In addition to giving a demo on working with high shrinkage abaca, I got to observe Cynthia’s demo for the grad students on pulp painting – and I picked up some new ideas. She showed them how to pigment highly beaten pulp, add formation aid to make it slippery and apply it to a base sheet with a brush or a squirt bottle. Here we see a mylar stencil laid down onto the base sheet.
Next, Cynthia squirts a dilute solution of pigmented pulp onto the open area of the stencil.
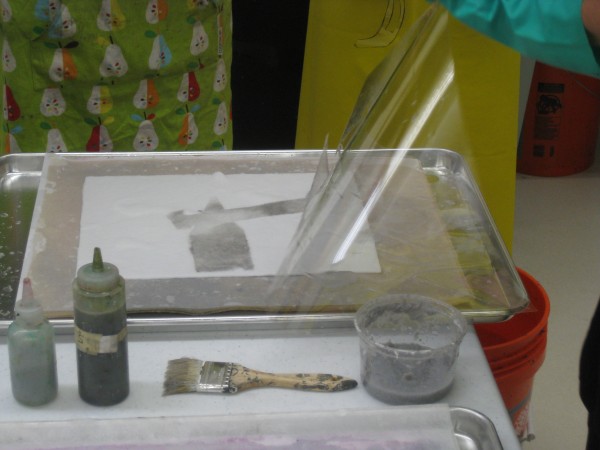
The stencil is then removed.

The stencil can be moved on the base sheet, so that layers of pulp can be built up and shapes appear in varying hues.

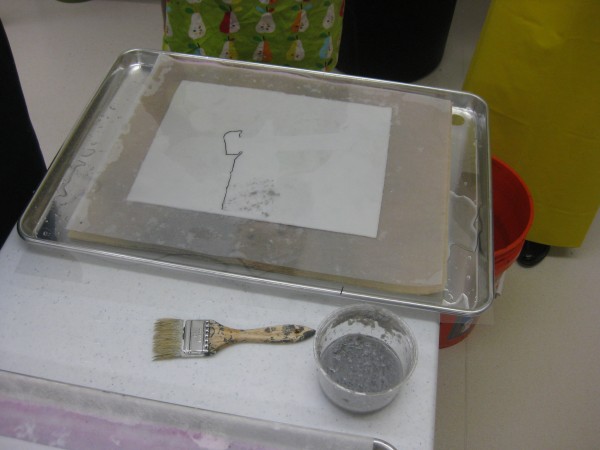
This shows an image where just a line is cut in the stencil and the pulp slips under the line and bleeds onto the base sheet.
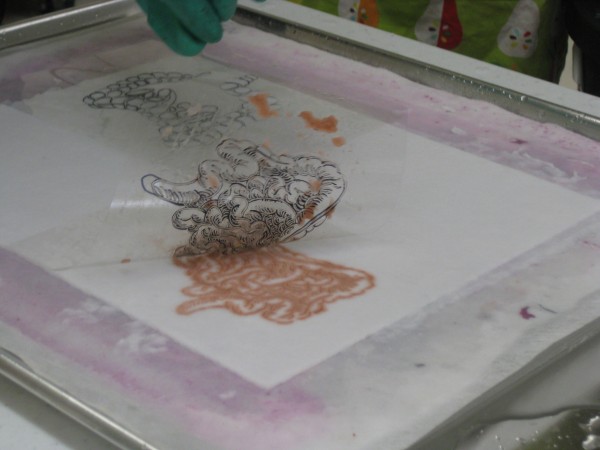
This is the result.
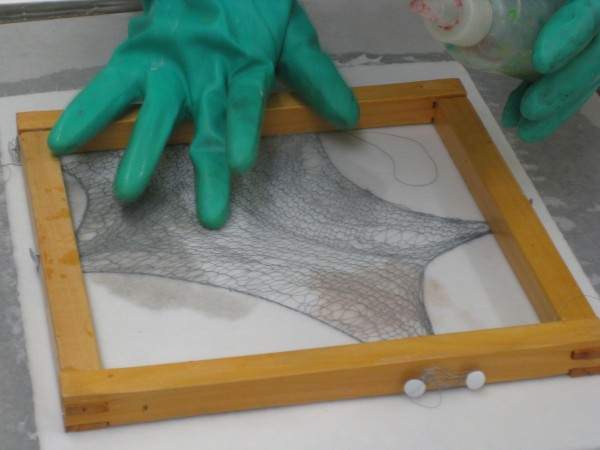
And finally, a student’s crocheted piece is stretched into this frame and laid over the wet base sheet.
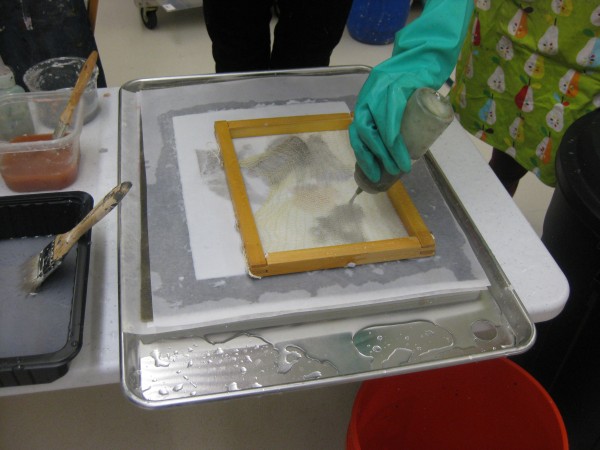
Pulp is squirted directly over the netting.
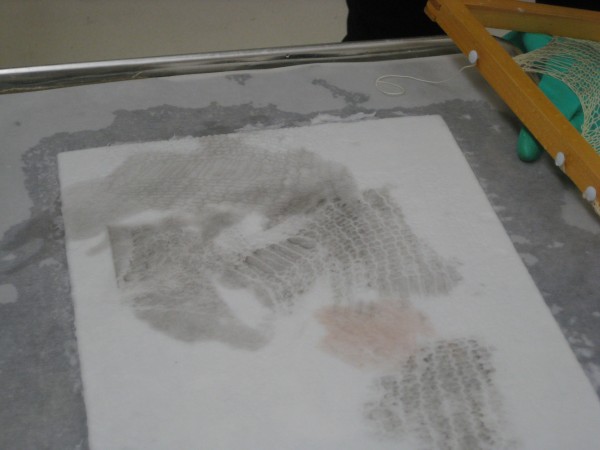
And here it is once the netting is removed. Cool!
At the end of the day, I was inspired! I’ve already tried using a mylar stencil in my own studio and am planning to use the technique on an upcoming project.
What do you glean from visiting other studios? I’d love to hear.
1 Comment
Hi,I log on to your blogs named “A Visit to The University of the Arts « Helen Hiebert Studio” on a regular basis.Your writing style is witty, keep doing what you’re doing! And you can look our website about تحميل اغانى.