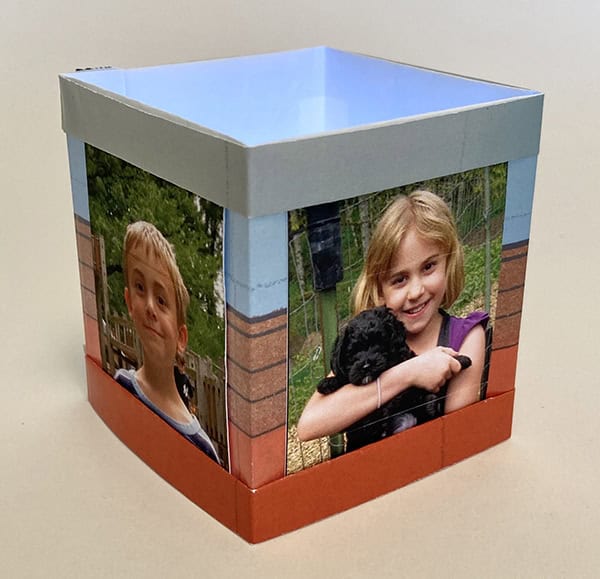
Here’s the link to the Photo Cube Tutorial on YouTube.
You will need the following tools & materials:
- Pencil
- 5” x 11” text weight paper
- Double sided tape, glue stick, white glue or magnetic tape (I’ll show you this).
- Bone folder
- Ruler
- Cutting mat
- Xacto or scissors
- (4) photos cut to 3” high x 2” wide – note that the height of the image that will show when inserted into the photo cube is 2”
Paper suggestions:
- Any text weight paper will work for this project, similar in weight to copy paper. Make sure your paper has some body to hold the folds – i.e. it shouldn’t be a flimsy paper.
Find out more about The Paper Year:
I will talk a bit about The Paper Year (TPY) before we begin the project. TPY is an annual subscription club – a year-long online class – featuring a new paper technique every month. Get inspired with video and written project instructions designed to spark ideas that keep you creating for the rest of the month; explore creative paper techniques, including origami, pop-ups, paper weaving, book arts, paper cutting and more; and join our growing community of paper lovers online to learn and share in a warm, encouraging, supportive, creative community. Learn more about The Paper Year.
