
Origami Envelope
25 Days of Paper 2015, Day 24
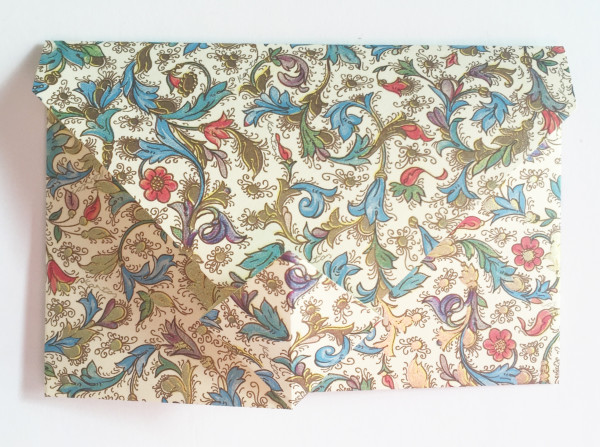
‘Tis the season to write thank-you notes! Here’s a clever origami envelope (not my design) that could be a nice use for wrapping paper. So, think twice before you toss that wrapping paper! This particular paper is an Italian printed paper from GPC Papers.
For this project you will need:
- Florentine Portofino paper (9″ x 9″ square)
- Bone Folder: optional
- Ruler: optional
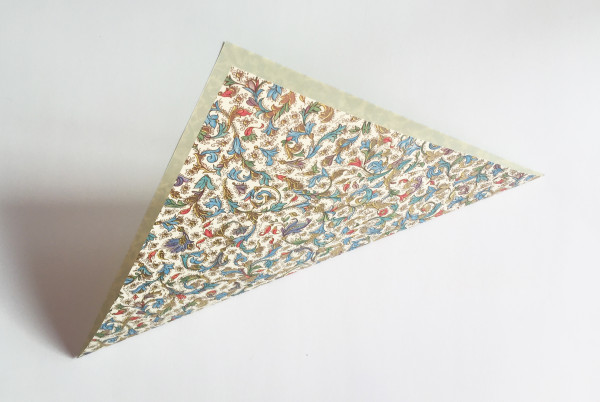
Step 1: Fold the square of paper in half diagonally with the printed design on the outside.
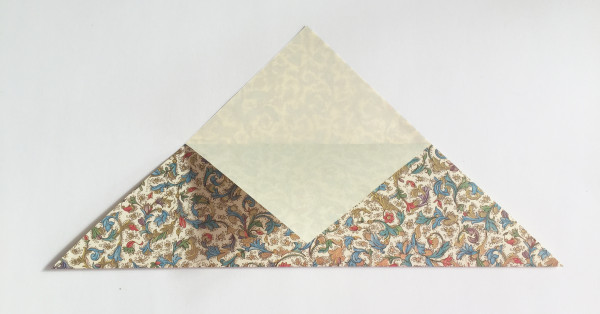
Step 2: Fold the top flap of the triangle down to the center point on the folded edge as shown.
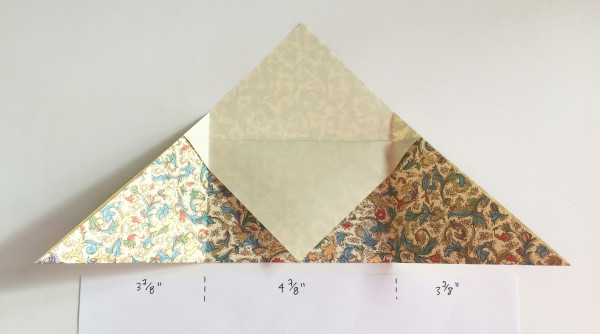
Step 3: You can guess at this step or measure, but basically you need to fold each side corner of the triangle in towards the center at slightly less than one third of the dimension of the bottom edge, keeping the bottom edges aligned. Fold the right flap down first, with the left flap on top (you can also do this vice versa).
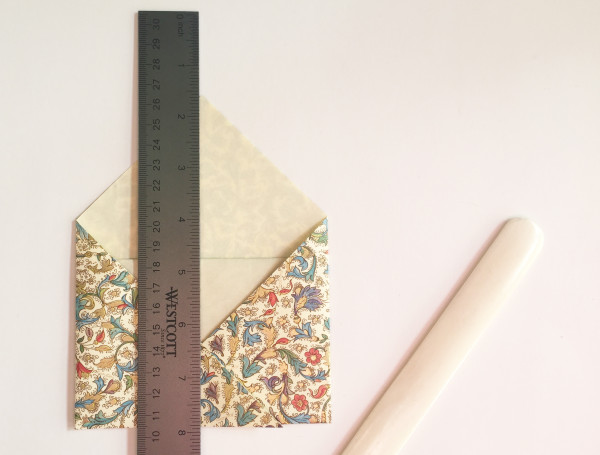
Step 4: You do not need a ruler and bone folder for this step; it just depends on how precise you like to be. Either fold back that top left-hand flap in the center, or score the mini-triangle you see created to the right of the ruler in the photo above and then fold it back towards the left along the crease.
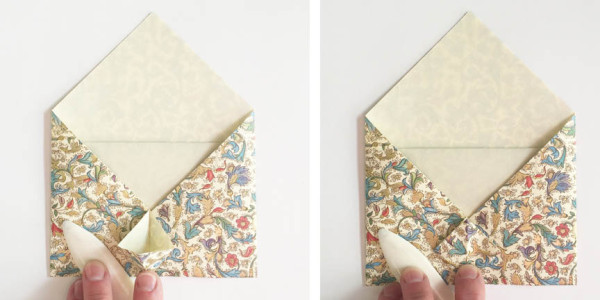
Step 5: Now create a squash fold (you can look this up if you need more visuals). Open up that little triangle that you just folded back and press the paper down to create a small diamond-shaped pocket and squash it down flat.
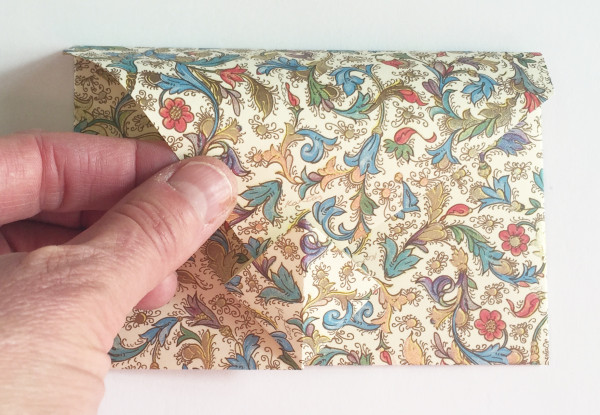
Step 6: Fold the top flap of your envelope down, tuck it into the diamond-shaped pocket and crease that last fold, forming your envelope.
NOTE: This particular envelope is too small to mail by itself (the post office has size restrictions). You can scale this up if you’d like to actually mail your envelopes!
I’d love to see what you create! Share your ideas in the comments box below and show us what you made in the 25 Days of Paper FB group.
This is our last project of the 25 Days. Check in tomorrow for a summary and a small surprise. Merry Christmas!
–––––––––––––––––––––––––––––––––––––––––––––––––––––––––
About the 25 Days of Paper 2015: It’s a great time to celebrate paper, and I’m delighted to share my ideas for using this amazing material with you. Throughout December, I’ll be posting a paper tutorial on even days, and every odd day will bring news about paper artists, stores, distributors and more! Receive updates via e-mail by adding your address in the upper right hand corner of this page. Enjoy the season, and feel free to leave a comment below and check out what people are making in the 25 Days of Paper FB Group!
2 Comments
[…] you do find yourself with an excess of wrapping paper this holiday season (or whenever), use this tutorial to create envelopes from the pretty […]
You are truly a generous artist!
I am so impressed with your unflagging enthusiasm.
Time yourself and be there for us, for years to come.
I love the idea of using Christmas wrap to make assortments of usable envelopes.. A set of envelopes could make a Christmas gift for NEXT year!
Looking forward to “weaving Paper”
Thanks you for sharing Helen! and Merry Christmas